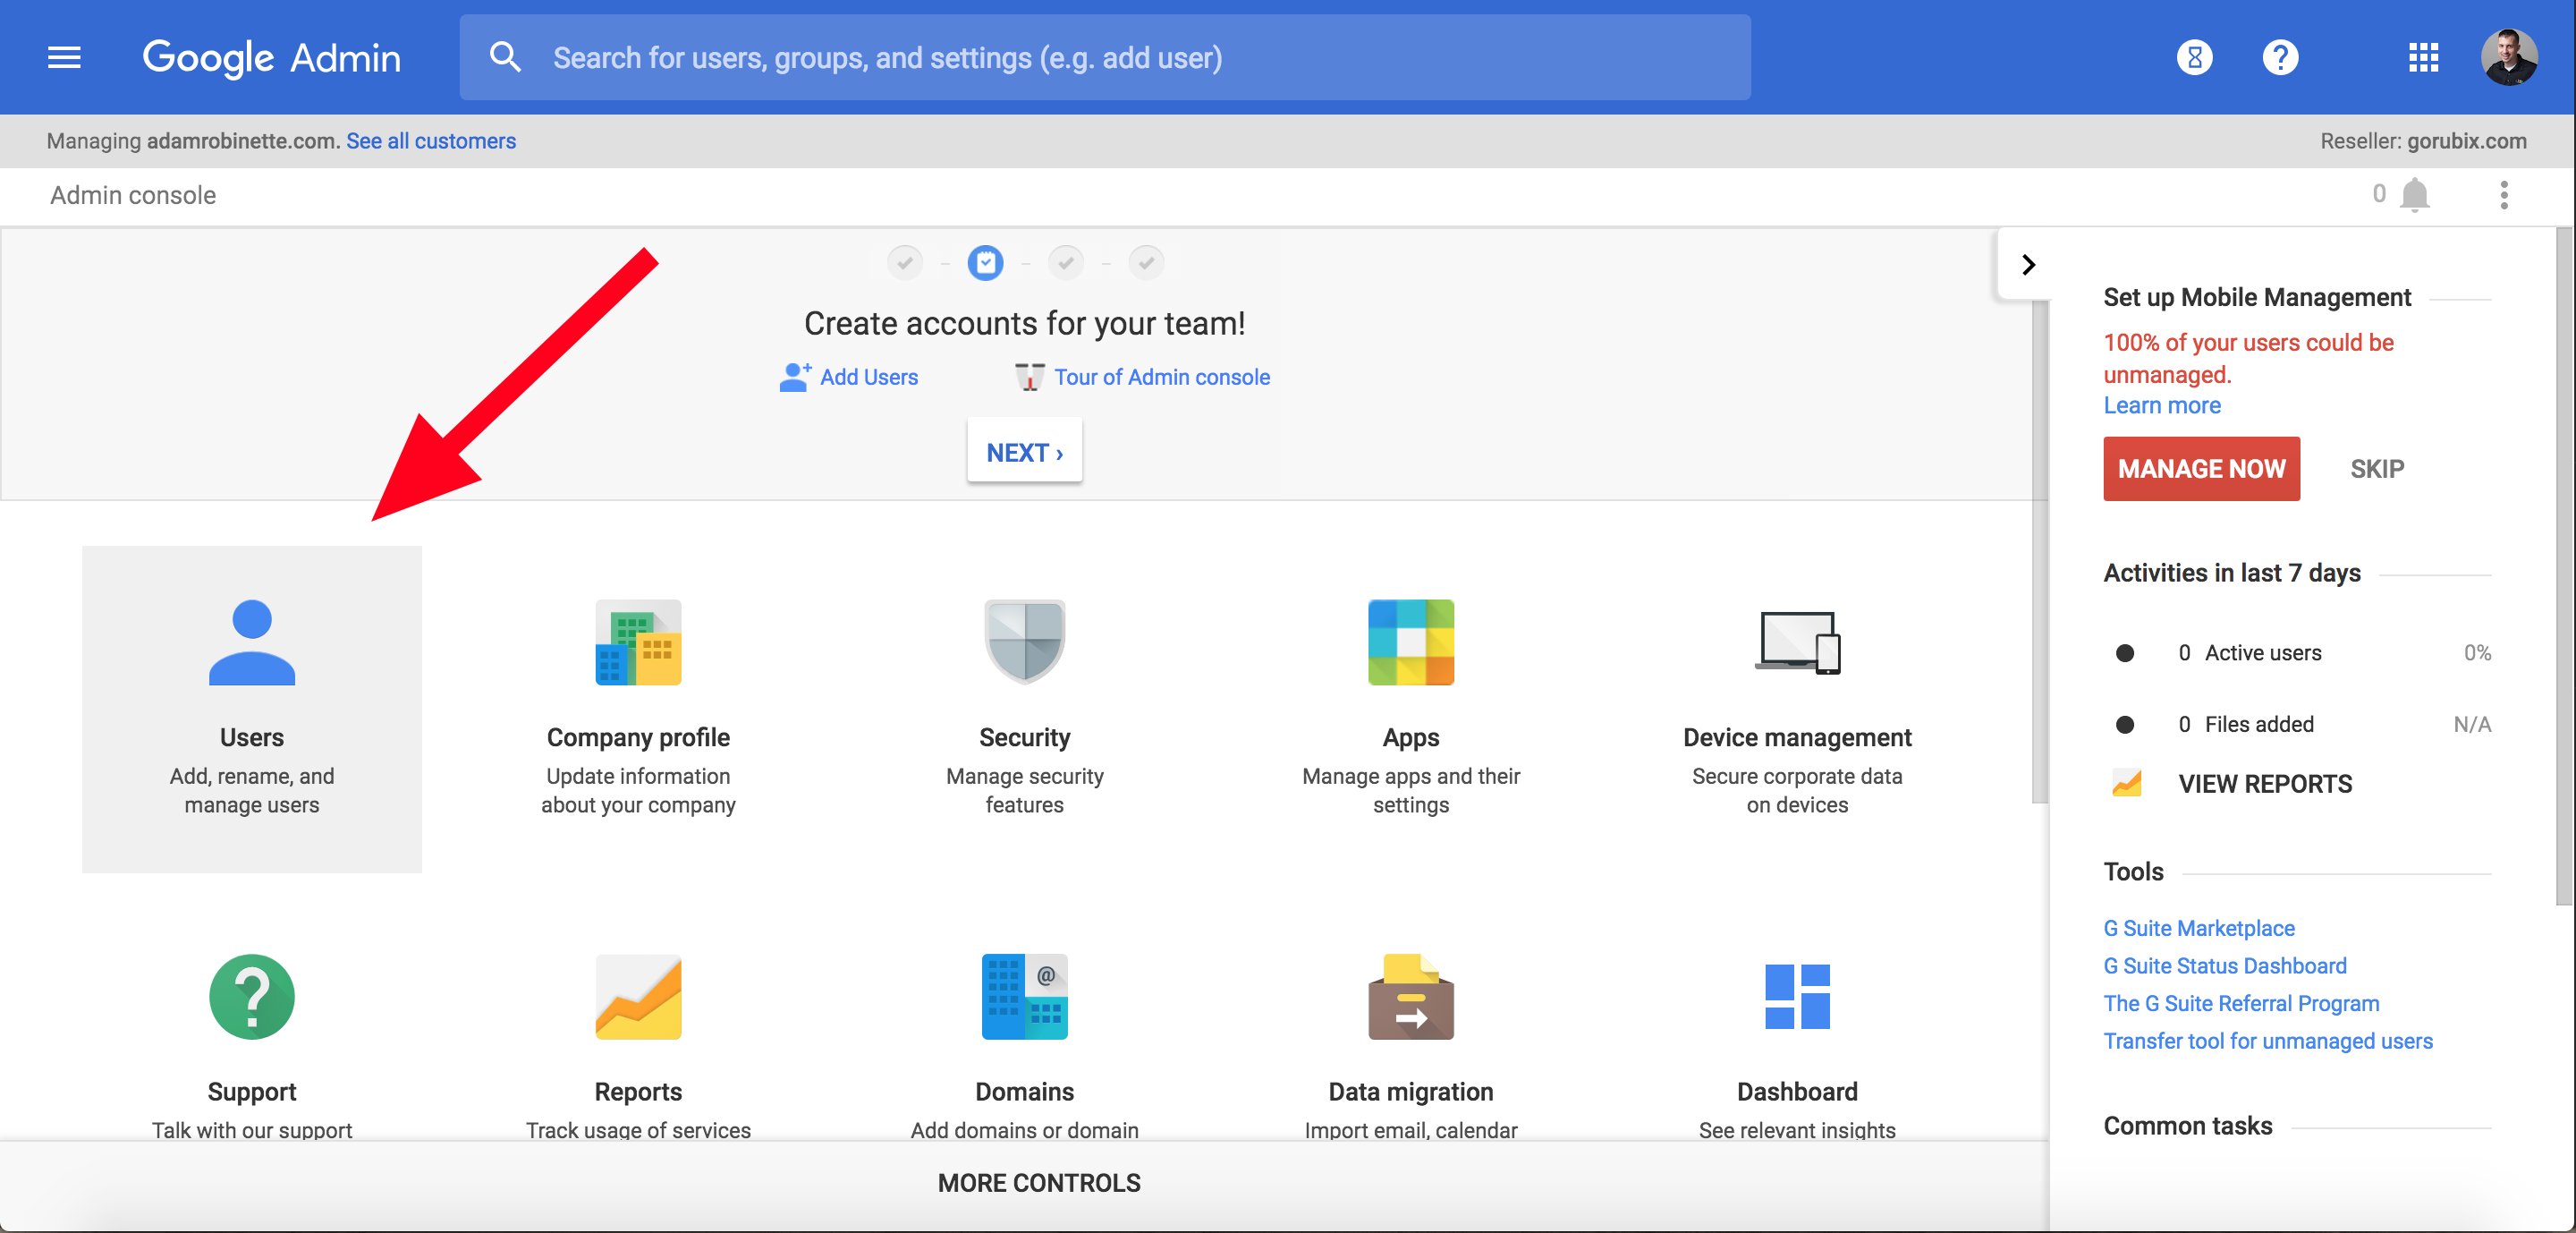
Log into your admin panel at admin.google.com. Once in your account you will click Users
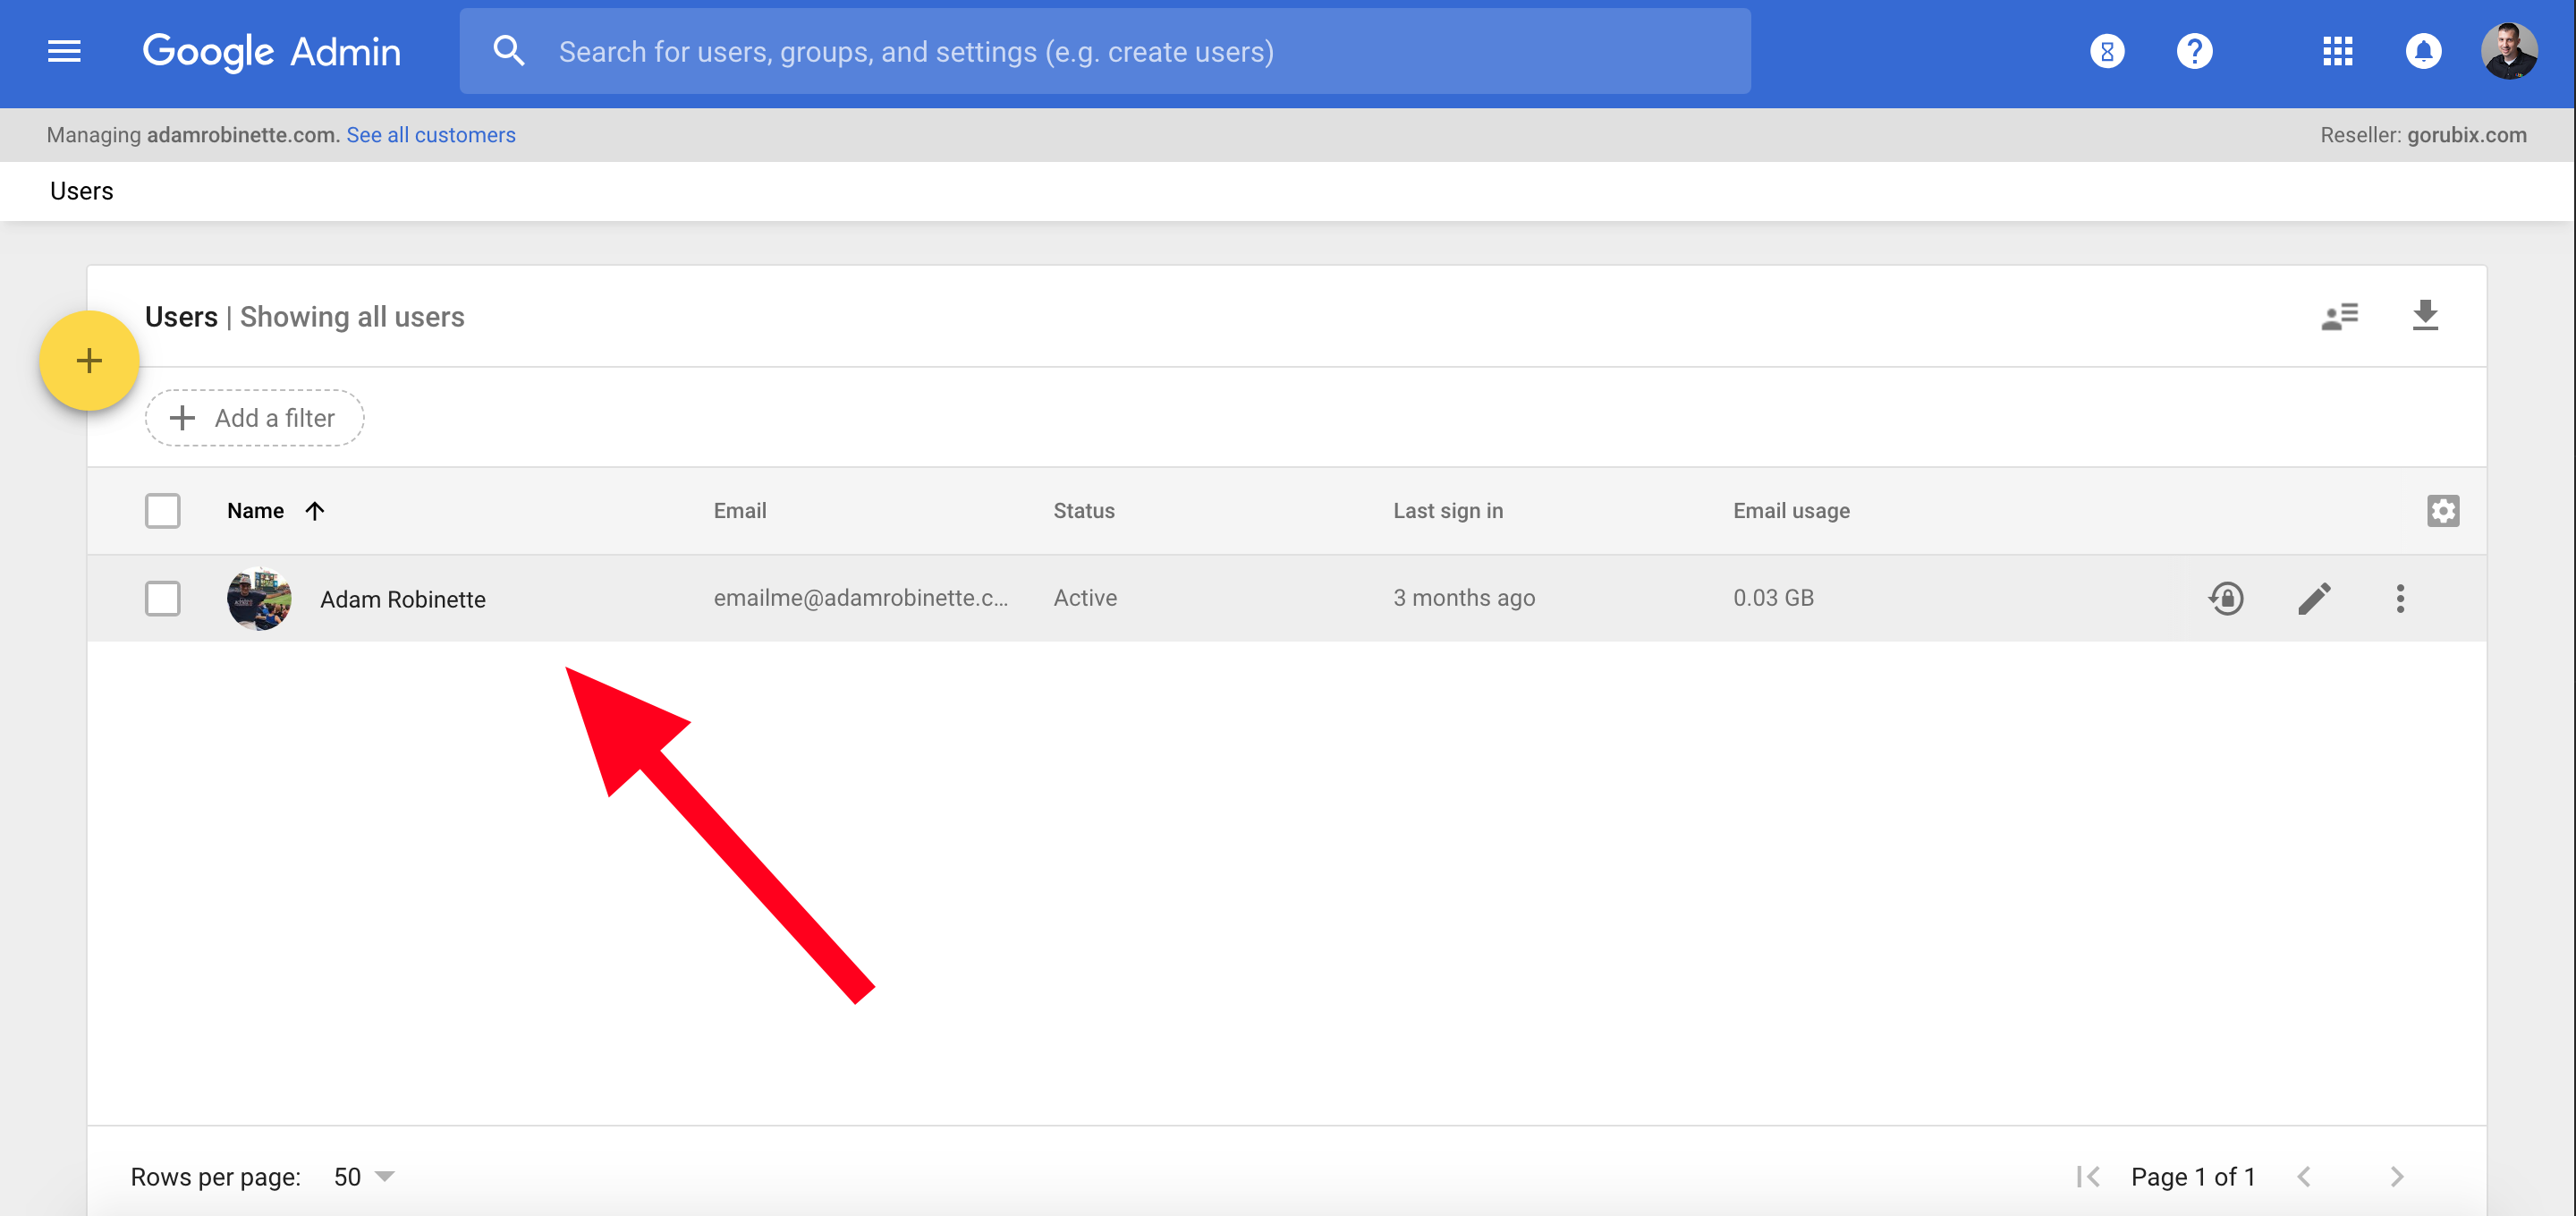
You will see your users there. Click and open the user you want to work with.
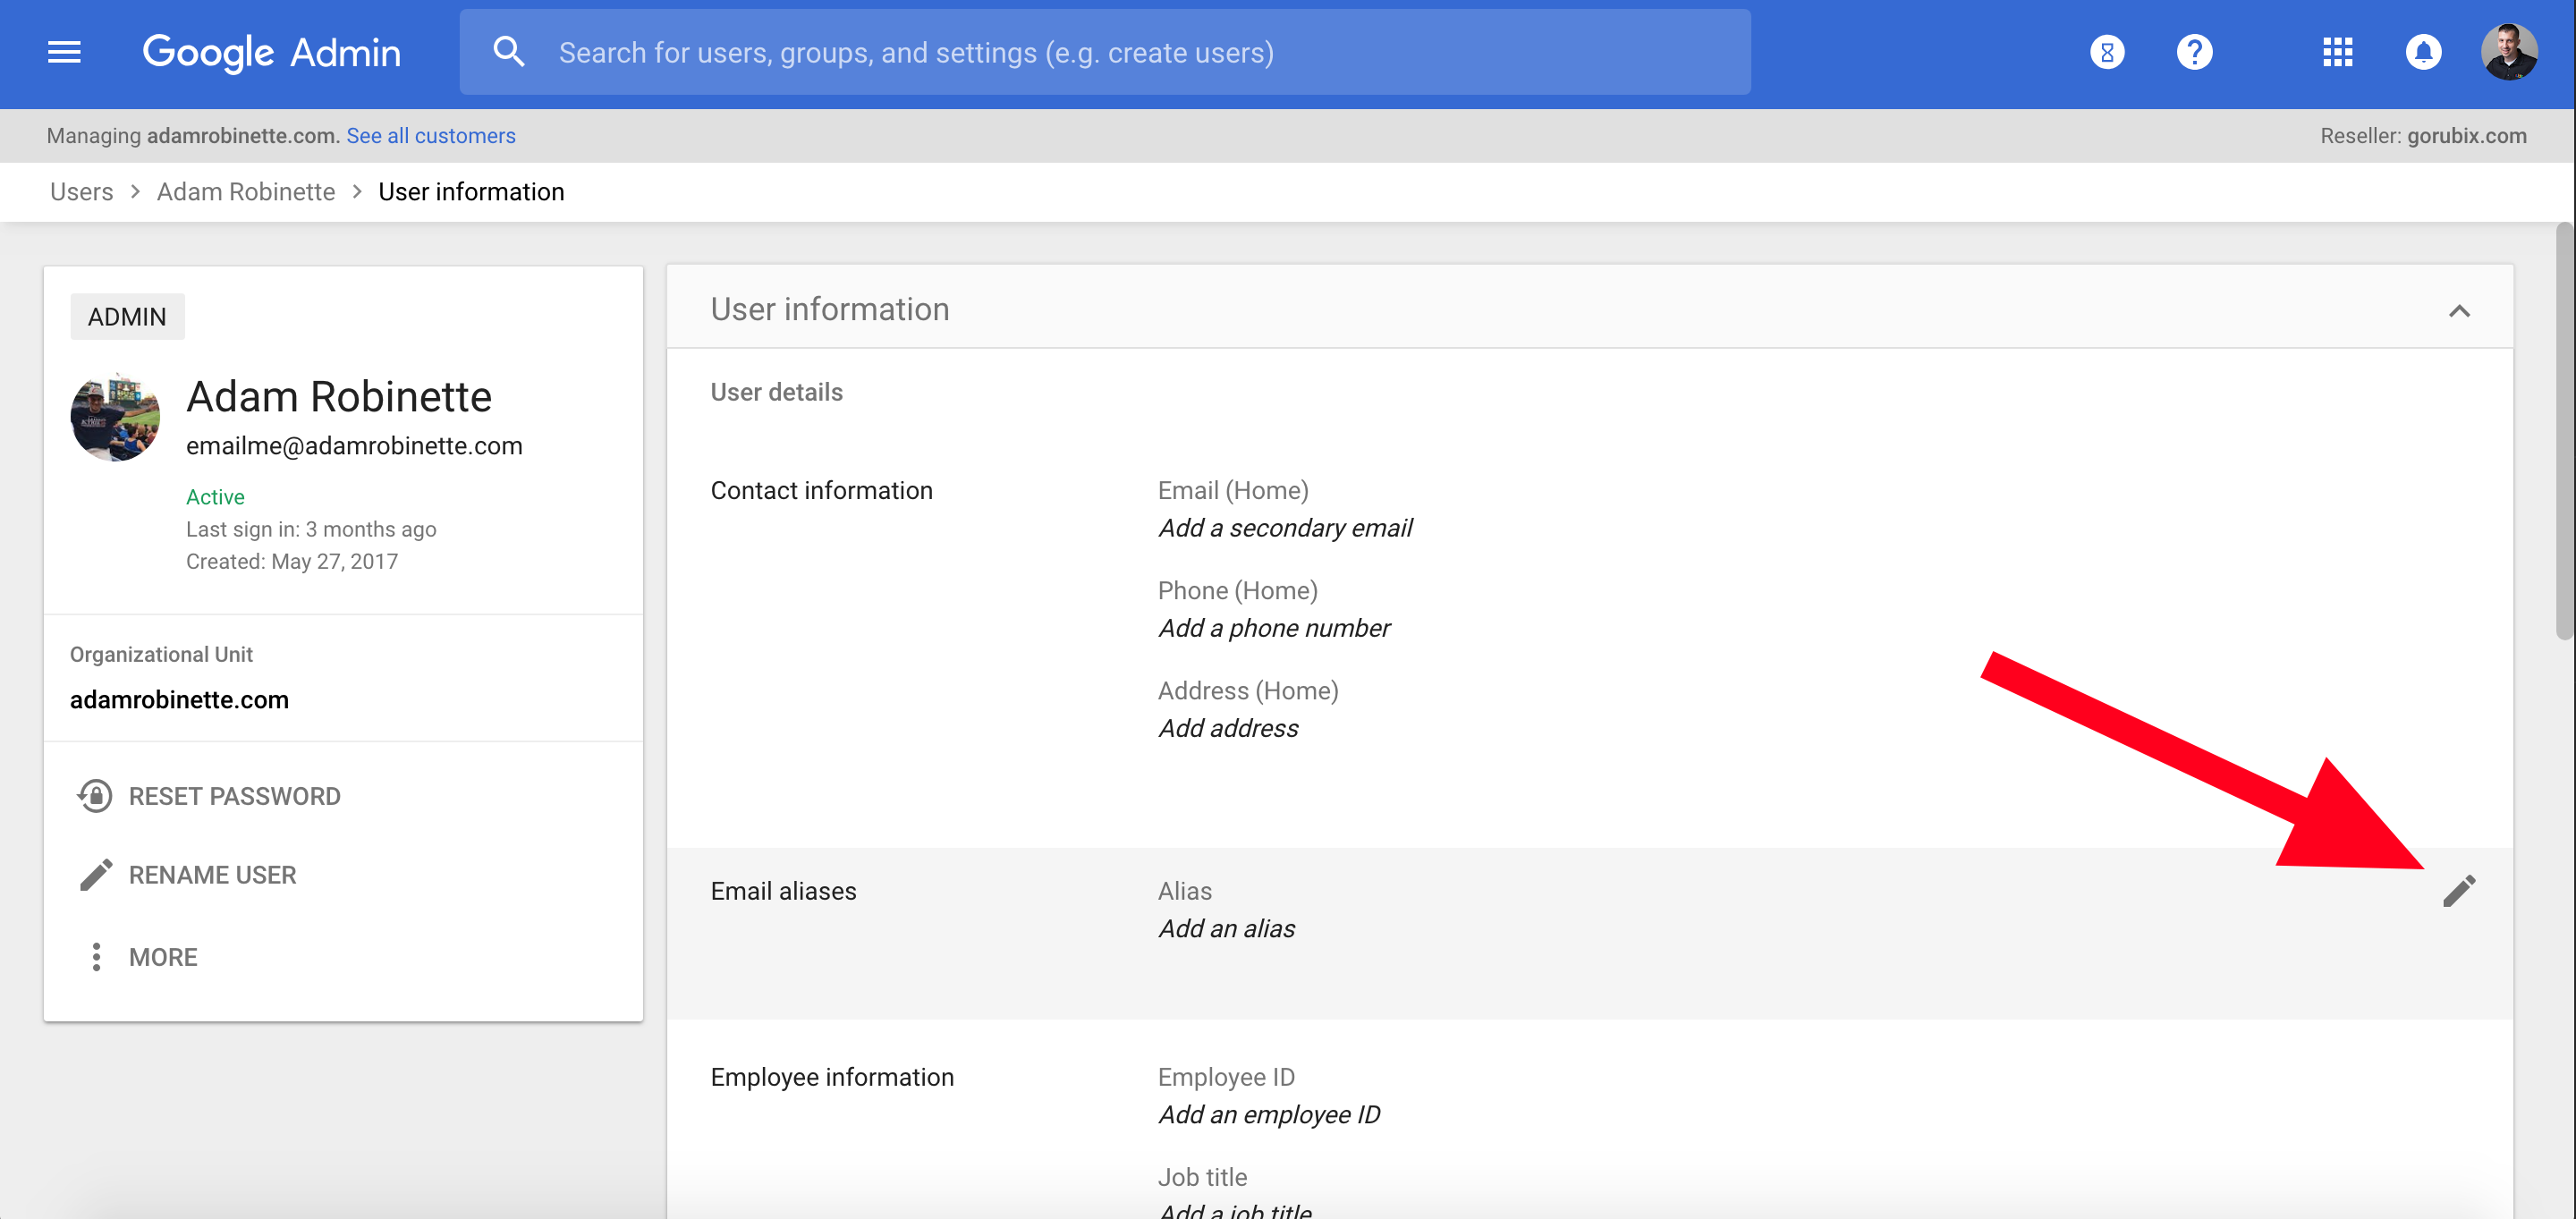
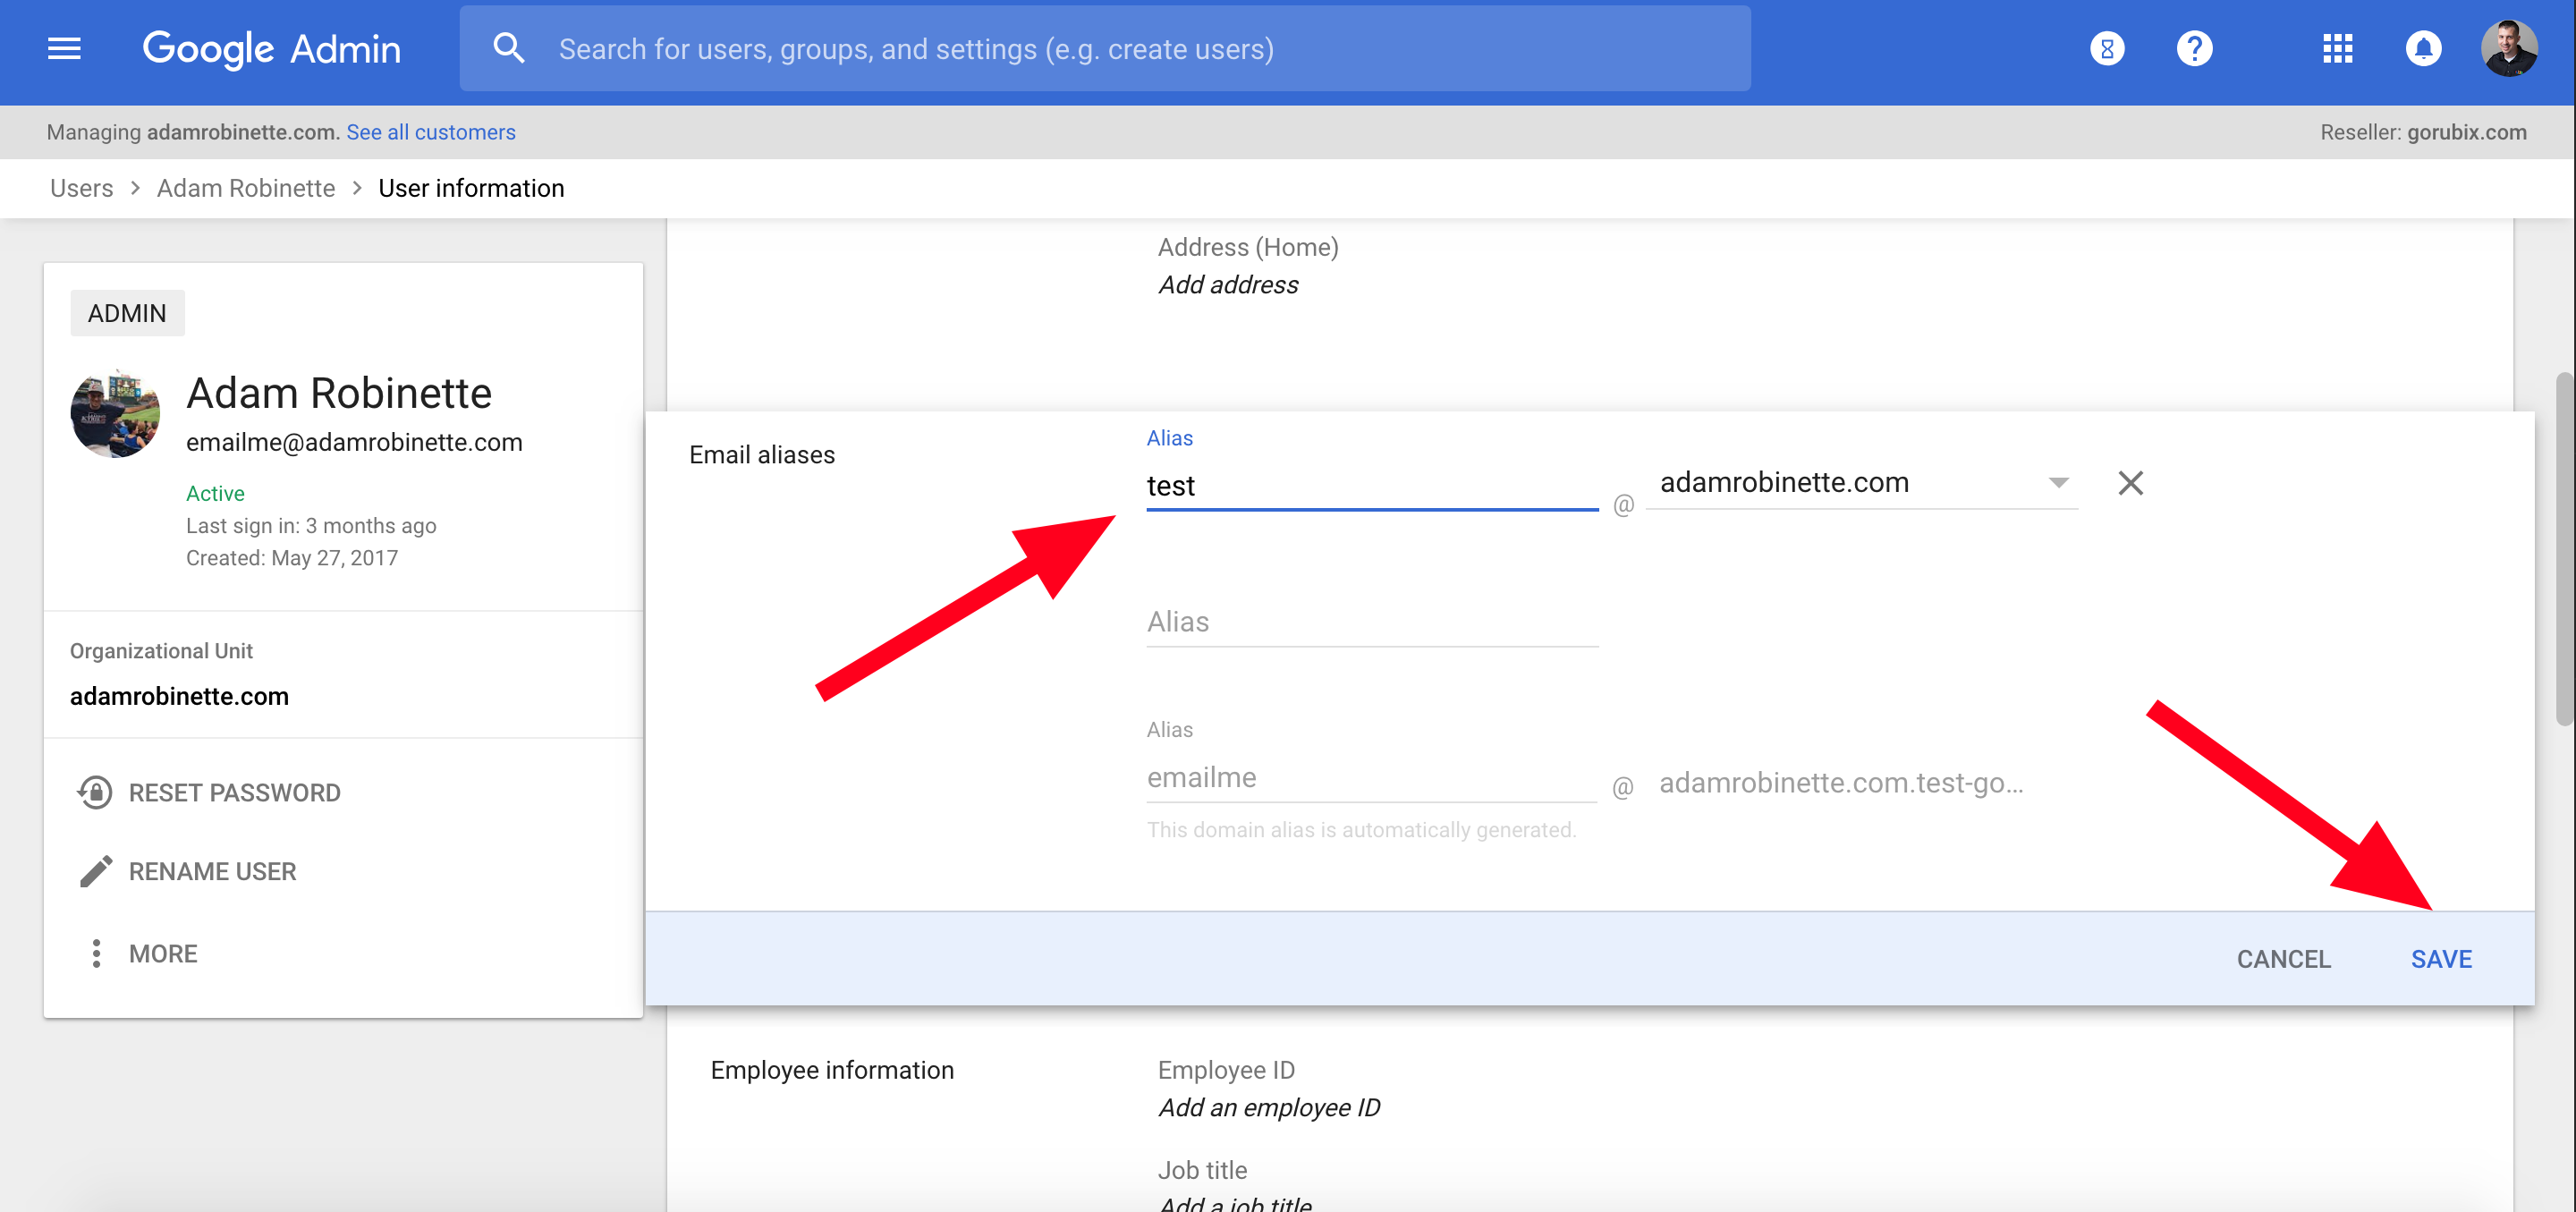
Once open you will Click "User Information". Once that opens you will click on the "pencil" icon to edit the aliases.
Under "Alias", you will add the email address or addresses you want to add right there and click on save.
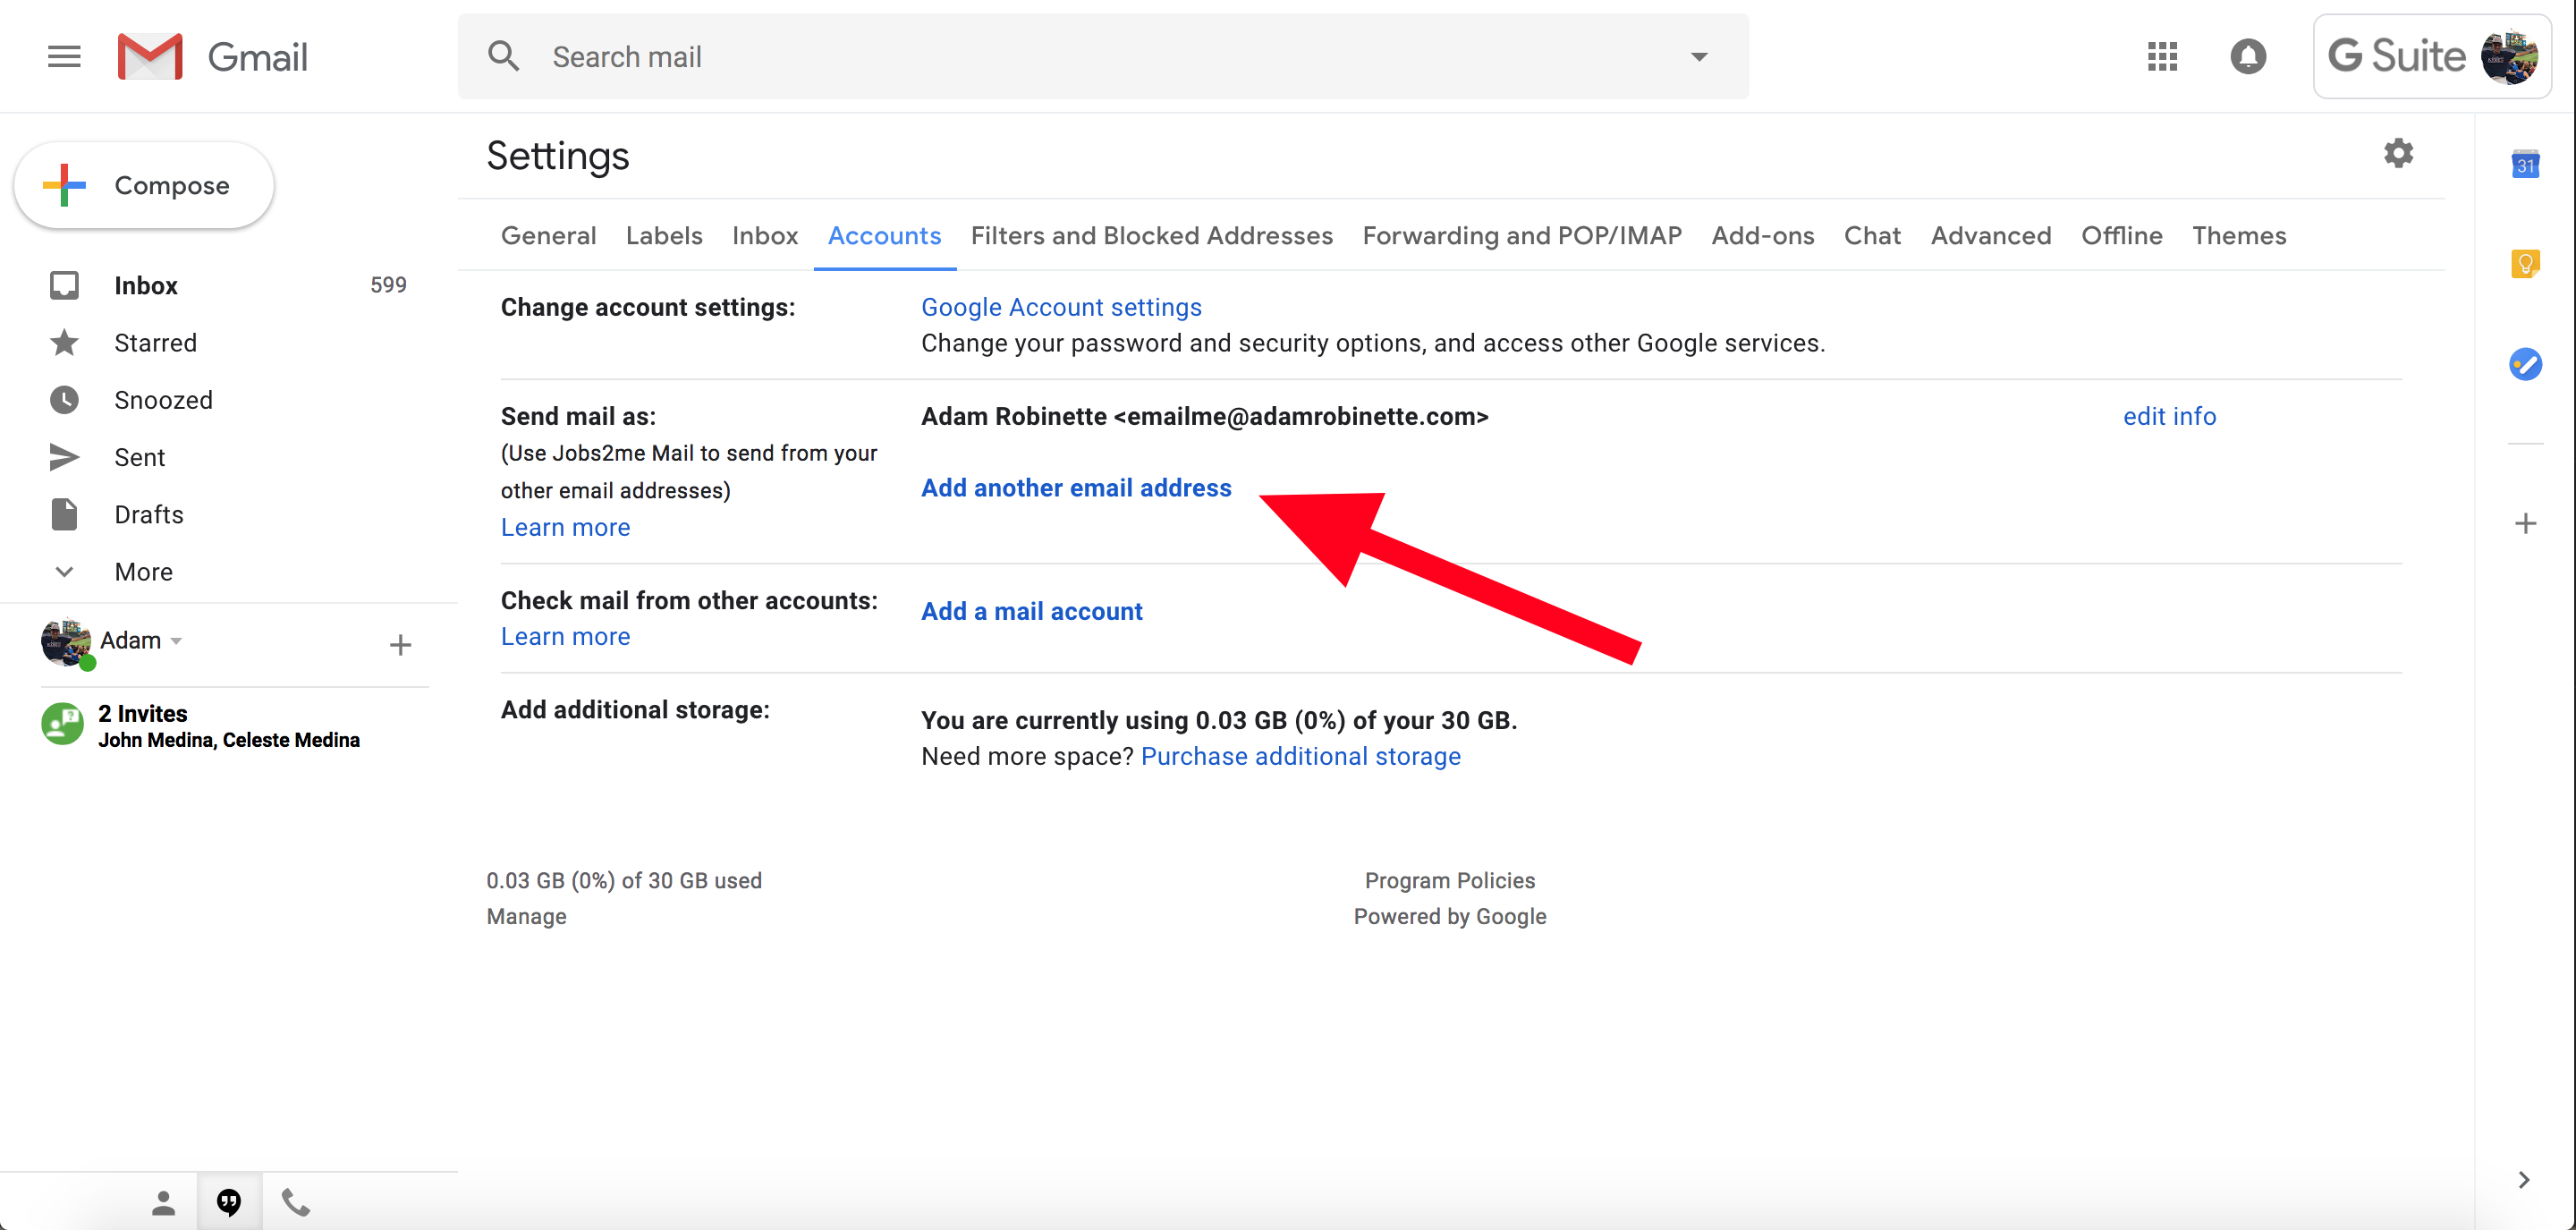
Log into the inbox for the user you selected. Once in the inbox go to "Settings" then select "Accounts" and then you will select "Add another email address". Then you will add the email address or addresses you added to your admin panel. Once you do that those emails will start coming into the inbox and you will be able to send from those emails as well.
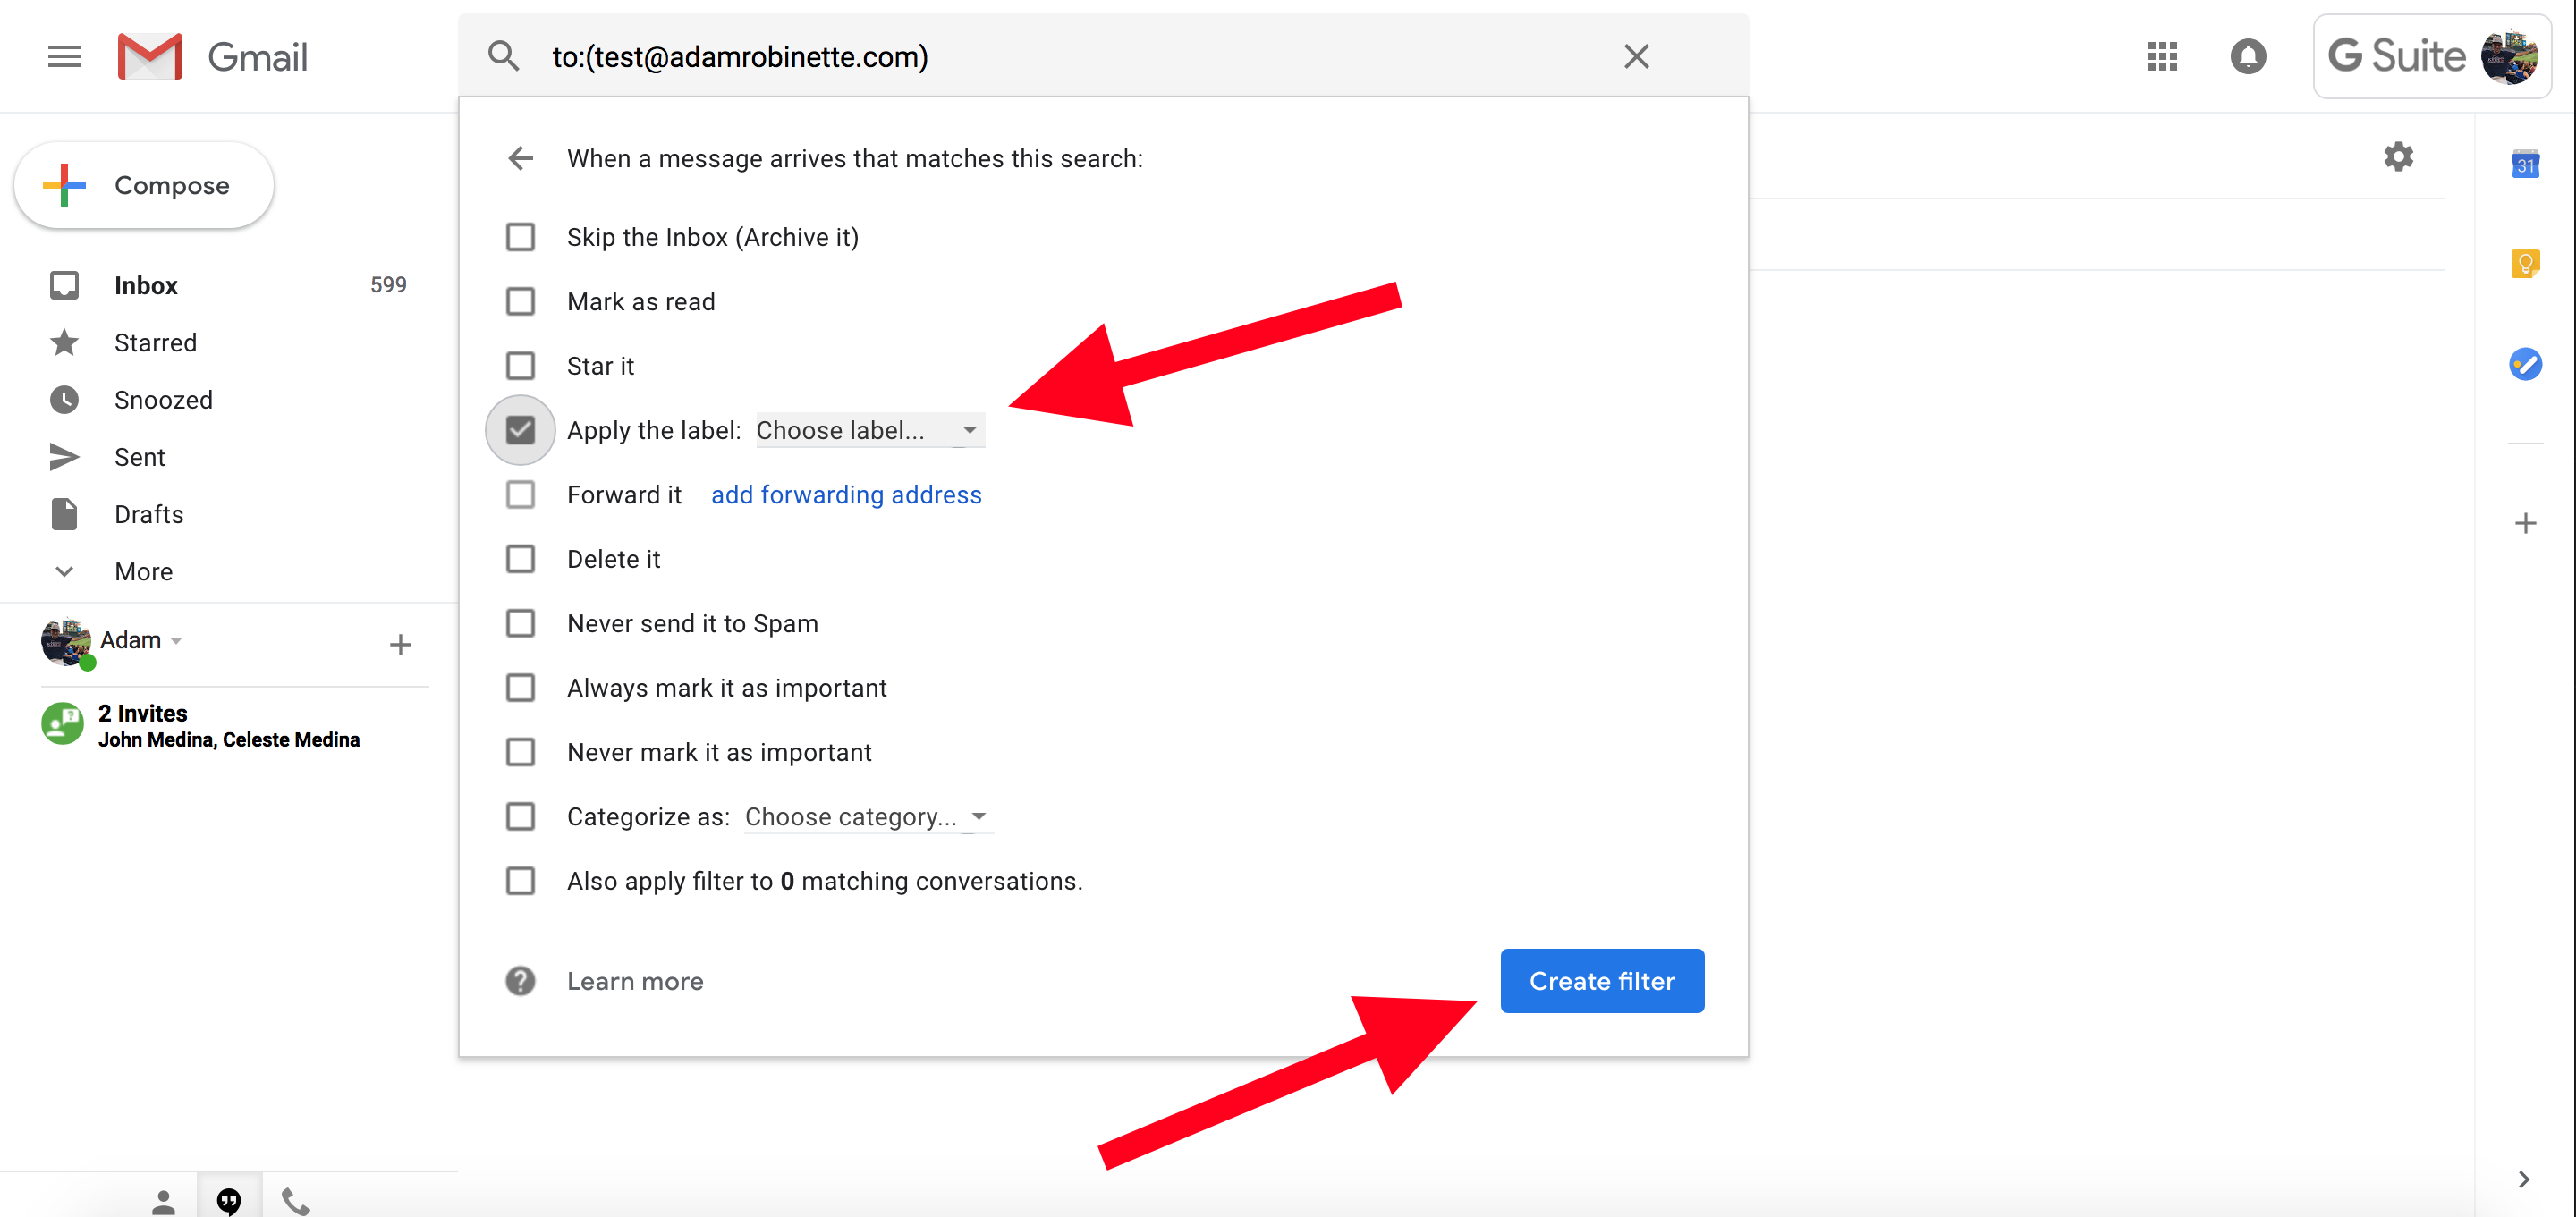
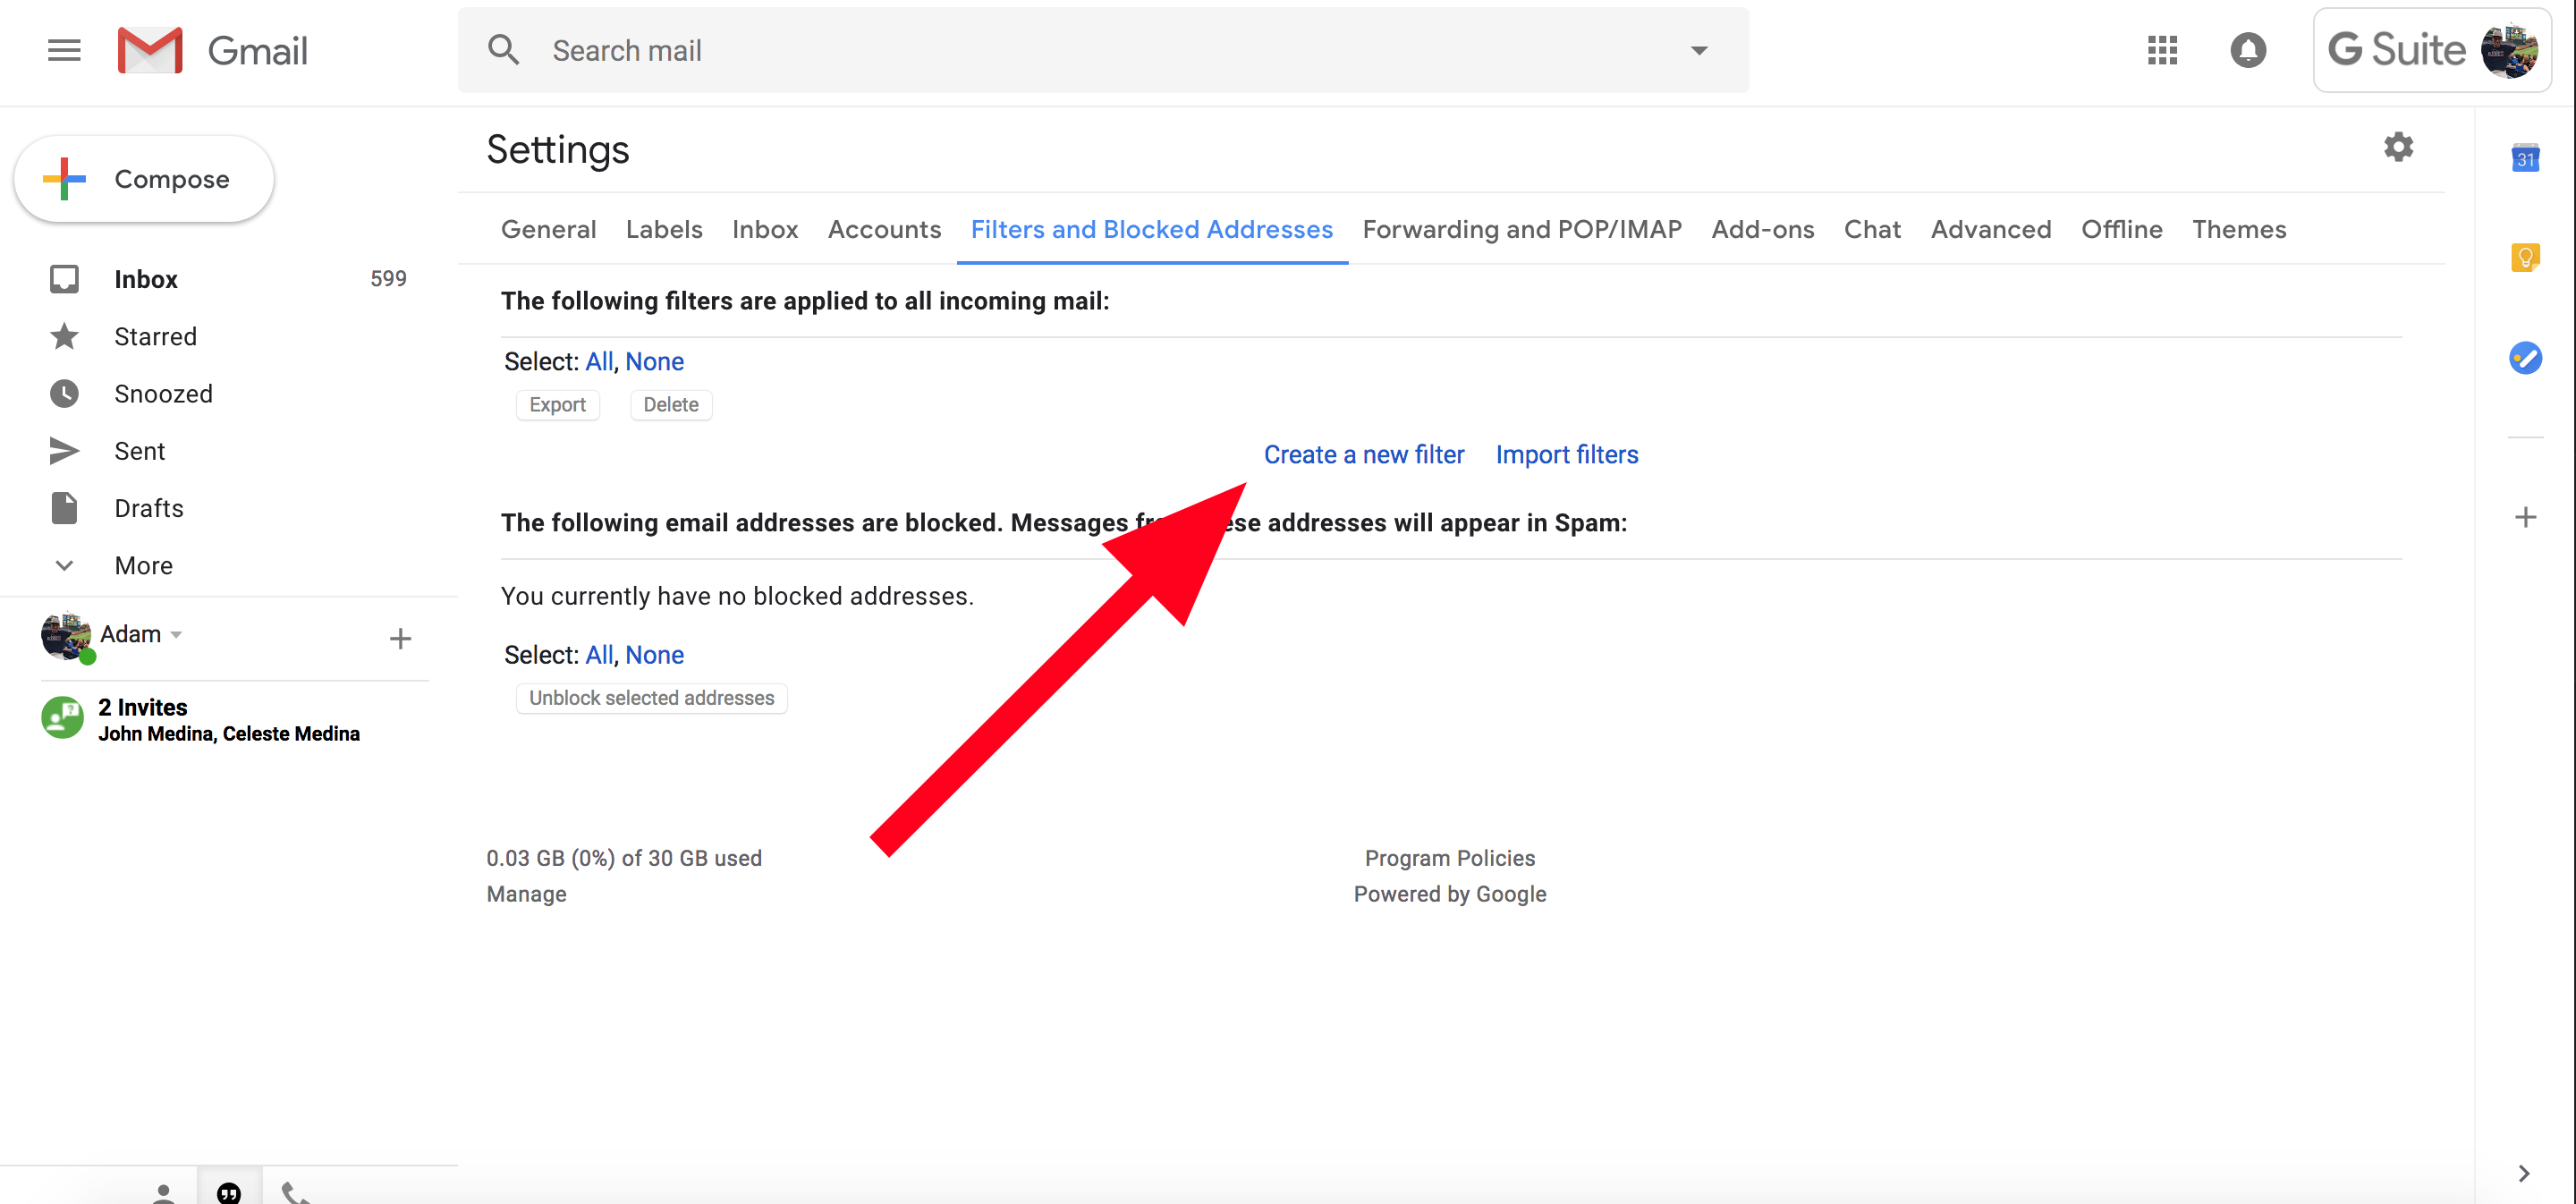
To create a filter for your new email address, you can click on "Filters and Blocked Addresses" under your "Settings". Then click on "Create a new filter". Enter in the email you want to add a filter for in the "To:" input field. Then click on "Create filter".
Then check "Apply the label:" and you can create a new label there. Then click on "Create filter". Now all emails that go to that email will show up under that label in your inbox.
